Squid Game Video Game
A computer vision video game inspired by Squid Game
Squidinf Game
Authors: Charles de Malefette - Sacha Braun
Introduction
The project we are presenting is a video game platform. On our game “SquidinfGame” you can play scary games that are derivatives of the Squid Game series. Each game uses computer vision to answer a different challenge. Of the 5 games we coded, one reimplements a “from scrach” image segmentation algorithm found in the openCV library, and the other four use computer vision from the webcam image. We have both reimplemented other methods (such as object detection and tracking in game 3), and reused existing modules to integrate them into our games and couple them with other methods. We have built a real graphical and sound interface for our game, with a menu that also uses the openCV library to detect the game the user wants to launch. At any time, the player can press “m” to return to the main menu, “r” to restart the game, or “q” to quit the game.
To get started
To launch the game, you have to launch the main function. The architecture of the project is such that: the main file is at the root of the folder, with a utils file. Then, we have a folder for each game in which we find the executable file to launch the game, or possible assets to enhance the game. Finally, we have an “animation” folder with all the necessary magnets for the game (we can also download the environment we used to code the game). When we launch our game, an introductory generic starts. We have done some video editing to personalise it to the image of our game, and it is possible to skip the credits by pressing the “space” key. In general, we made animations to celebrate a victory or a defeat after each game. We did the video editing on premiere pro, then exported the videos frame by frame in PNG format. To add an animation, we coded the necessary code in the utils.py file at the root of our code. We then used the “cvzone” library to add our PNG animations to the game, in order to create for example an effect of blood flowing until it covers the whole screen on the game.
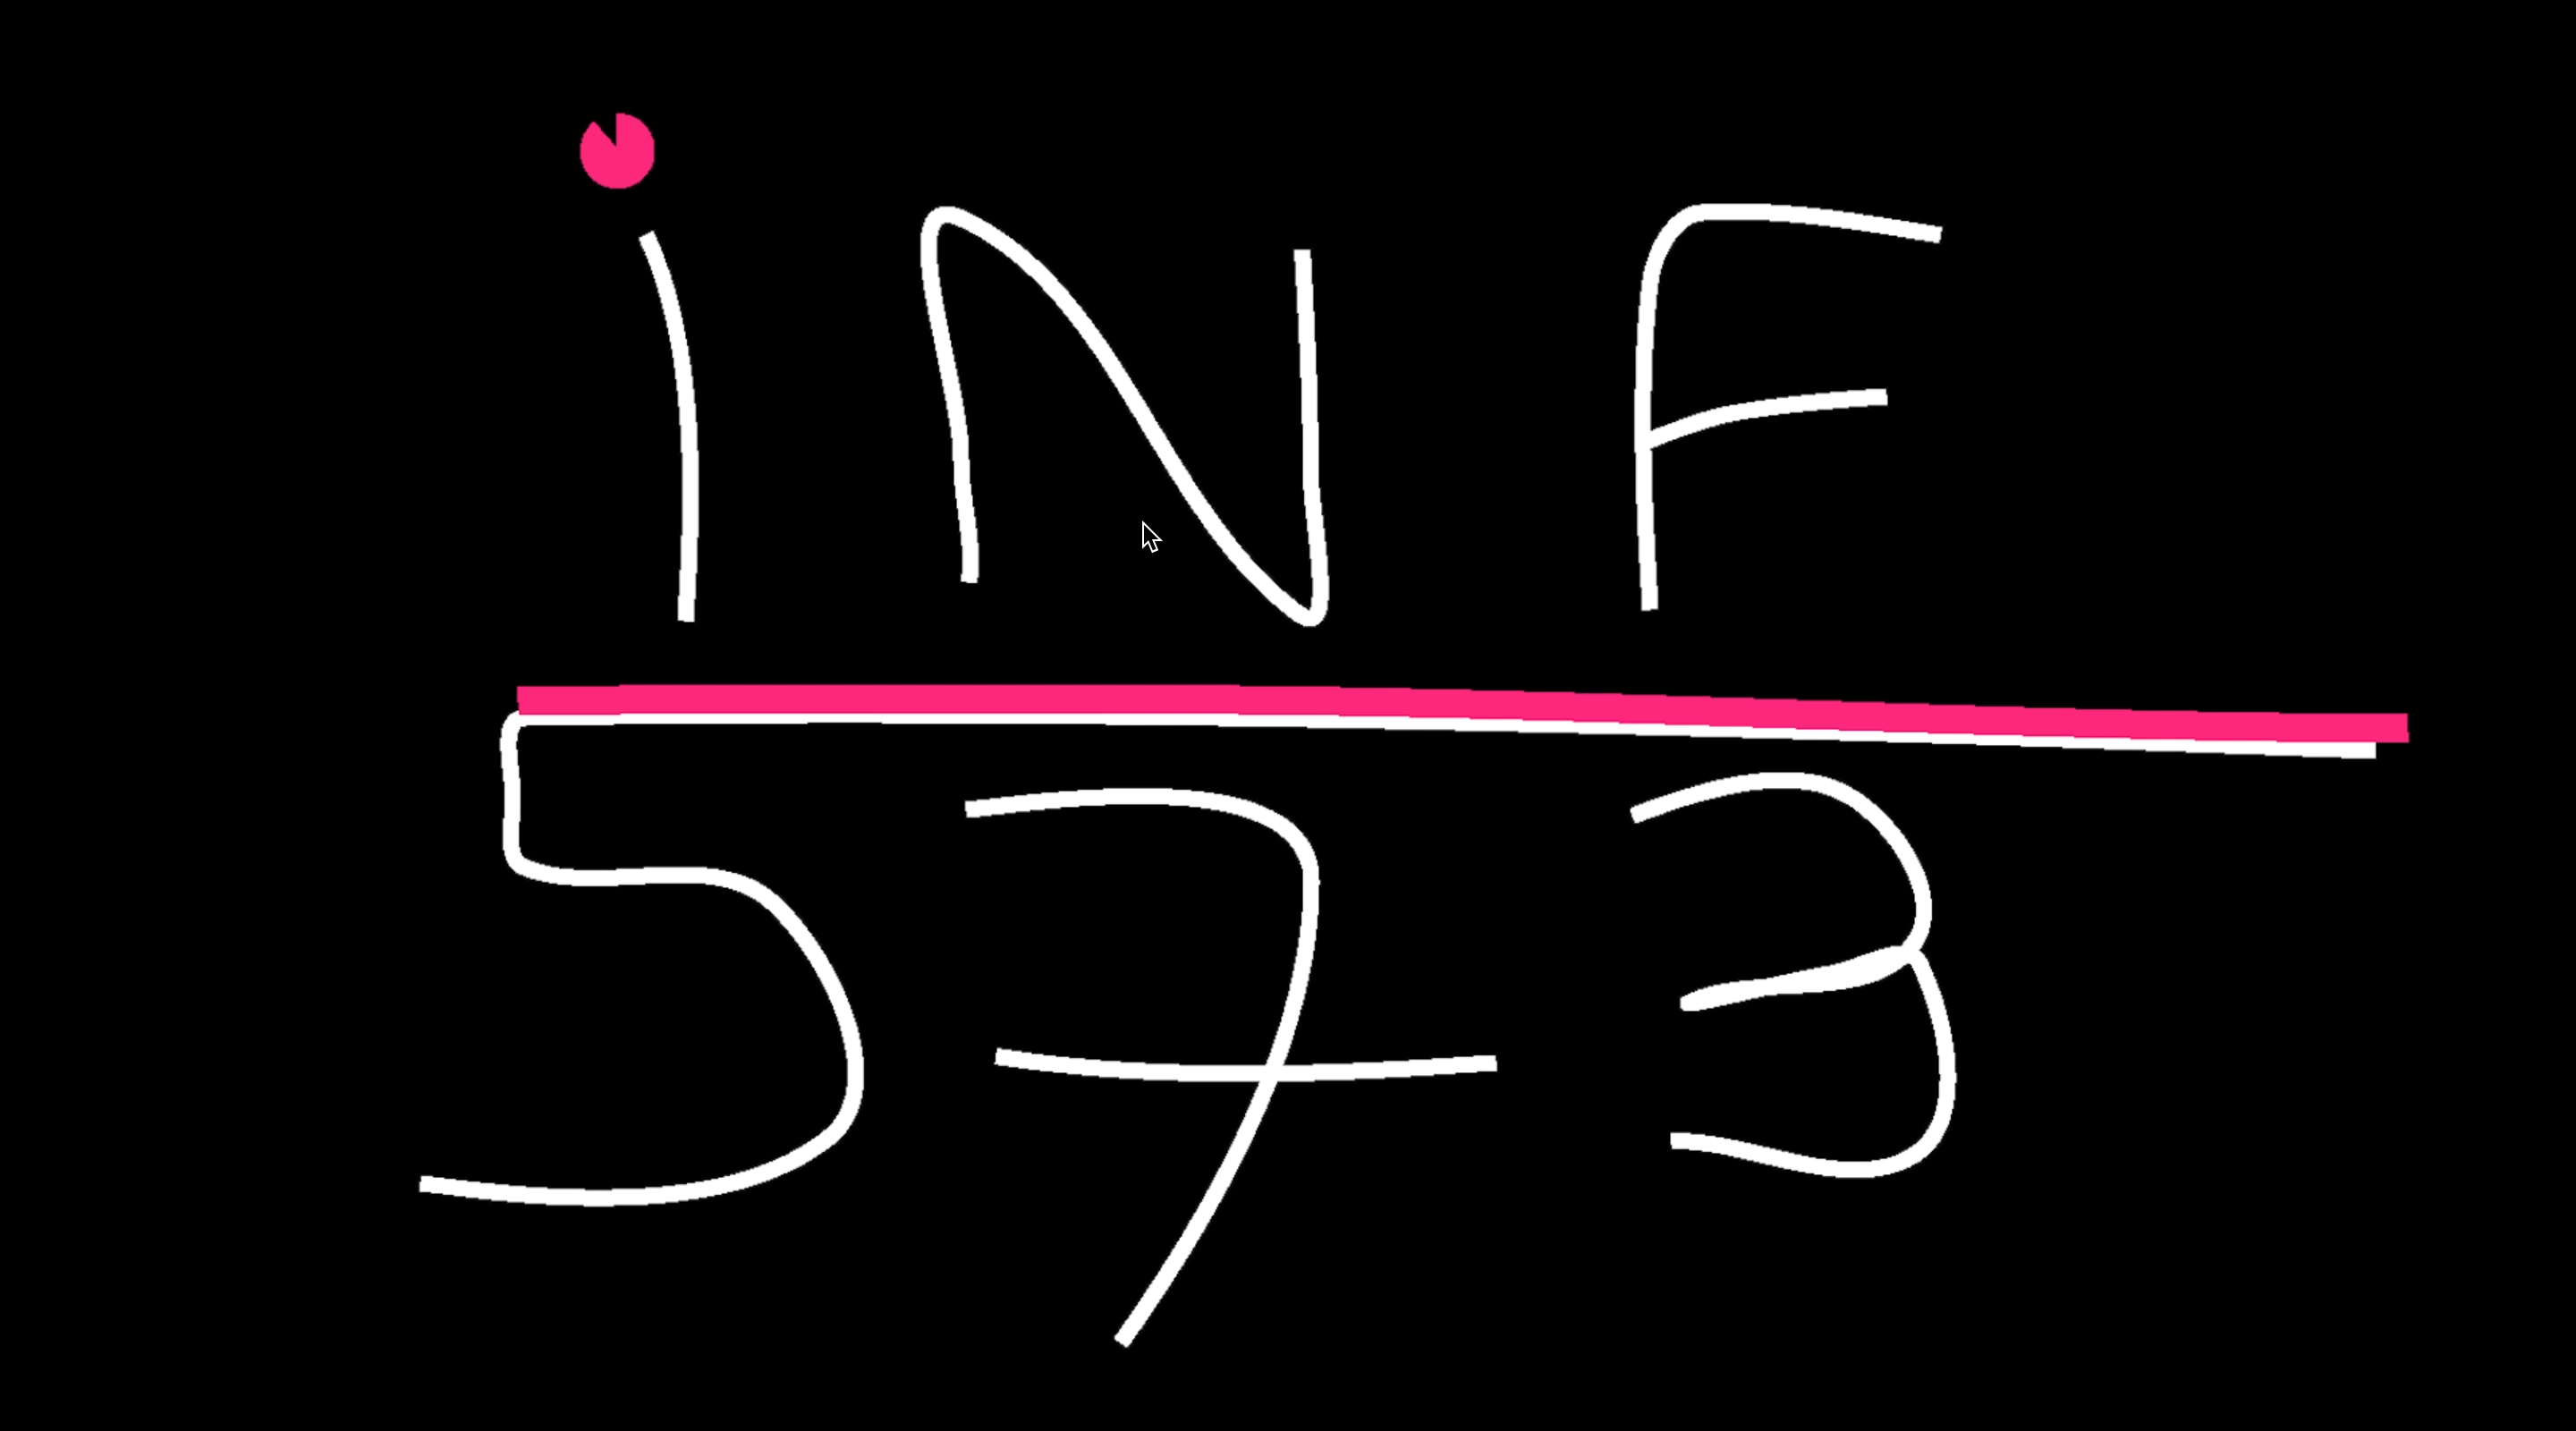
When you get to the main menu, you can choose your game by clicking on the image, or use the keyboard to write the game number you want to play.

Game 1 : 1,2,3 Soleil
The game of ‘1, 2, 3 soleil’ is a classic game in the playground. The player facing the wall shouts ‘1, 2, 3 Soleil’ and when he says ‘Soleil’, he turns to the players. While the leader shouts ‘1, 2, 3 Soleil’, the players must try to move forward as fast as possible and stop when the leader turns around after saying ‘Soleil’. In our case, the webcam will act as the game leader and will detect if the user moves behind his screen during the standstill phases. Much more accurate than the human eye, this version of ‘1, 2, 3 Soleil’ leaves no room for subjectivity and will be uncompromising towards those who can’t stop fidgeting.
Detect a move
To detect the shape of a character, we used the module \textit{SelfieSegmentation} of the mediapipe library which has a function \textit{segmentation-mask} that creates a segmentation mask of the character on the screen. A mask is a matrix of the same size as the image but with a single channel containing an integer between and 255 to characterize the gray level of the pixel. Between two successive images, calculating the norm of the difference between the two masks makes it possible to calculate the relative displacement of the mask and therefore of the character on the screen. If this displacement is greater than a certain threshold, the character is considered to have moved, which leads to his death and the game being stopped.

Immerse yourself in the atmosphere of the game
This version of ‘1, 2, 3 Soleil’ is not the childish version we know, it is much darker. To accentuate the gloominess of the game, a little girl explains the rules of the game at the beginning of the game and then a scary robotic voice takes care of the countdown. The whole thing is set to an eerie music that intensifies as the player survives the different waves.
Game 2 : Biscuit
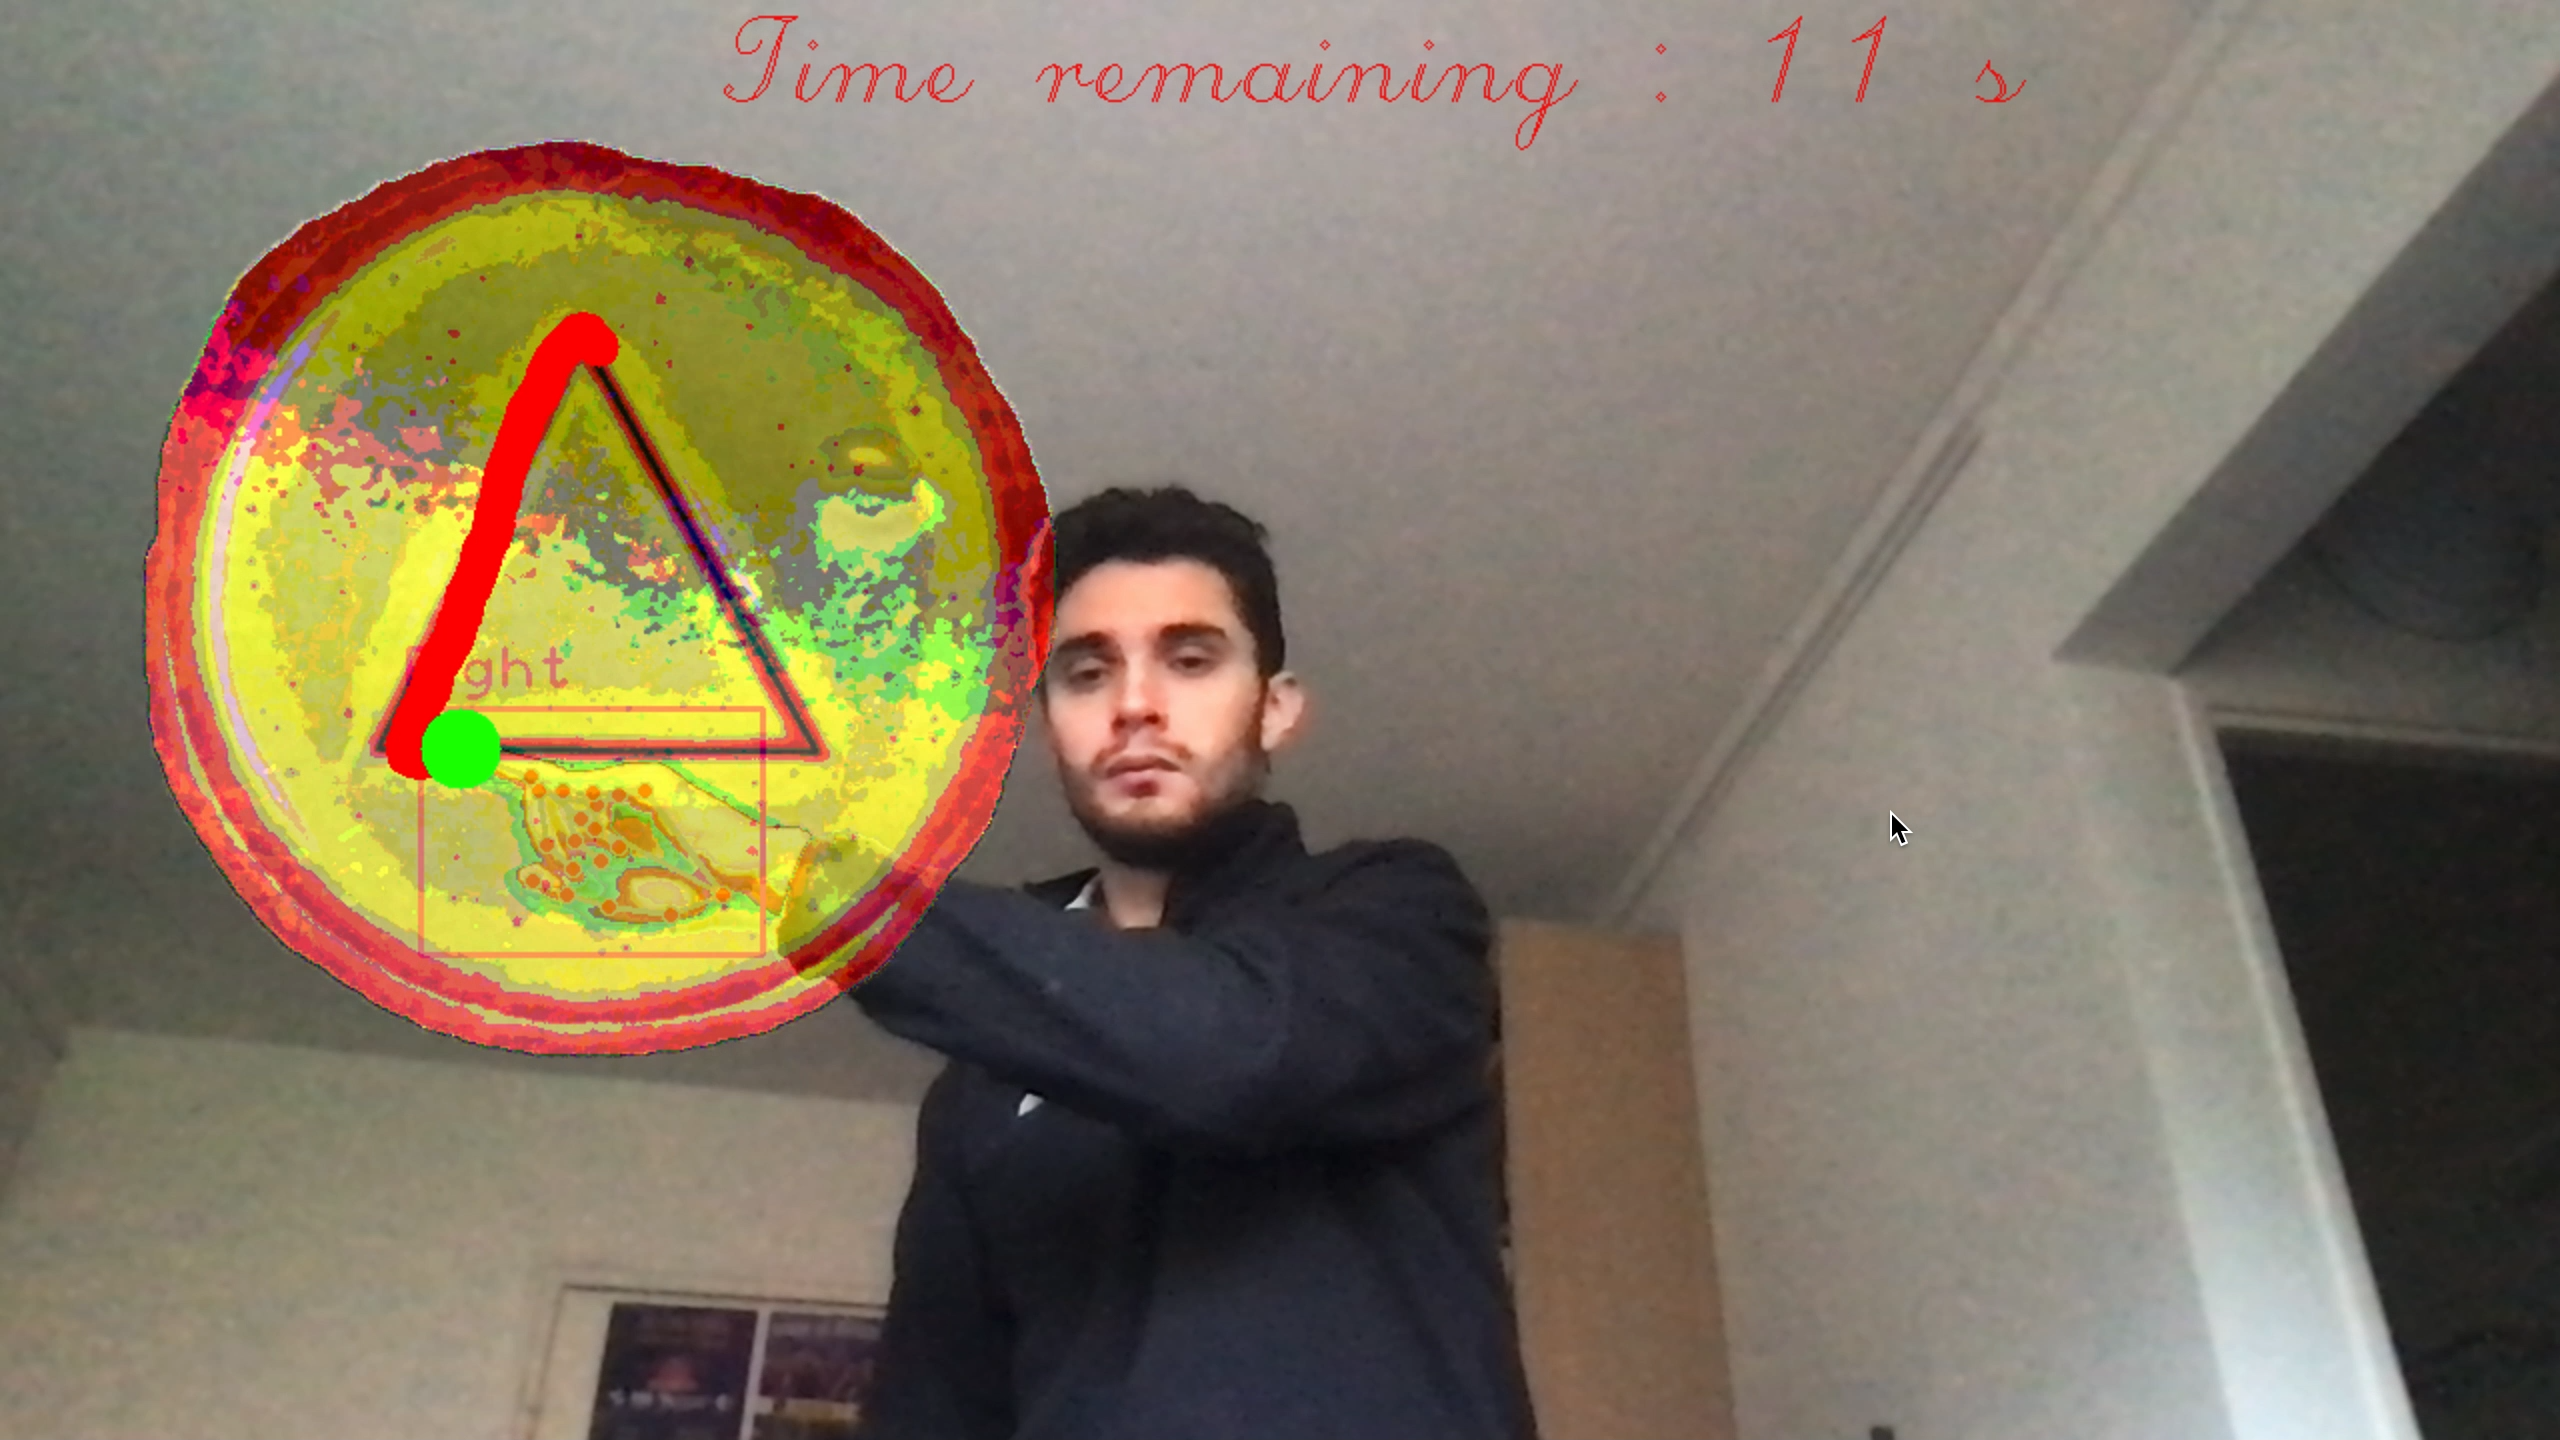
The biscuit game is simple: to win you have to go around the biscuit without going over the edges. To draw on the biscuit, we used the \textit{cvzone.HandTrackingModule} module to track the movement of a finger displayed on the webCam. At each moment, we save the position of the player’s finger in an array of a class variable in order to draw all the drawn points on the image.
Detecting defeat
A first condition for the game to work is the detection of a defeat. For this purpose we have “doubled” the image of the biscuit, creating a mask with a blue zone which corresponds to the tolerance zone on which it is possible to draw. Thus, at each moment we look at where the player’s finger is located. If the colour of the image at this point is white, then we have lost and therefore we reset the points over which the player has passed.
Detecting a victory
A second condition for the game to run smoothly is to be able to detect a victory. To do this, we need to detect that we have completed a full turn of the biscuit. We had several ideas for this, and started by trying to code a checkpoint system by adding coloured bars to the mask file. The result was satisfactory, but there were problems: we counted the number of checkpoints under which the day had passed. It was therefore possible to pass under the same checkpoint several times and distort the algorithm. We could have easily overcome this difficulty, but we preferred to use another method: we create another black image, on which we just draw the player’s path. The idea is to detect the number of contours in the image: once the drawing is back to the starting point, we split the space into two non-related components, and thus increment the number of contours present in the image by one. To detect the number of contours in the image, we used the function \textit{cv2.findContours}. The result obtained is perfectly functional.
Elements of style
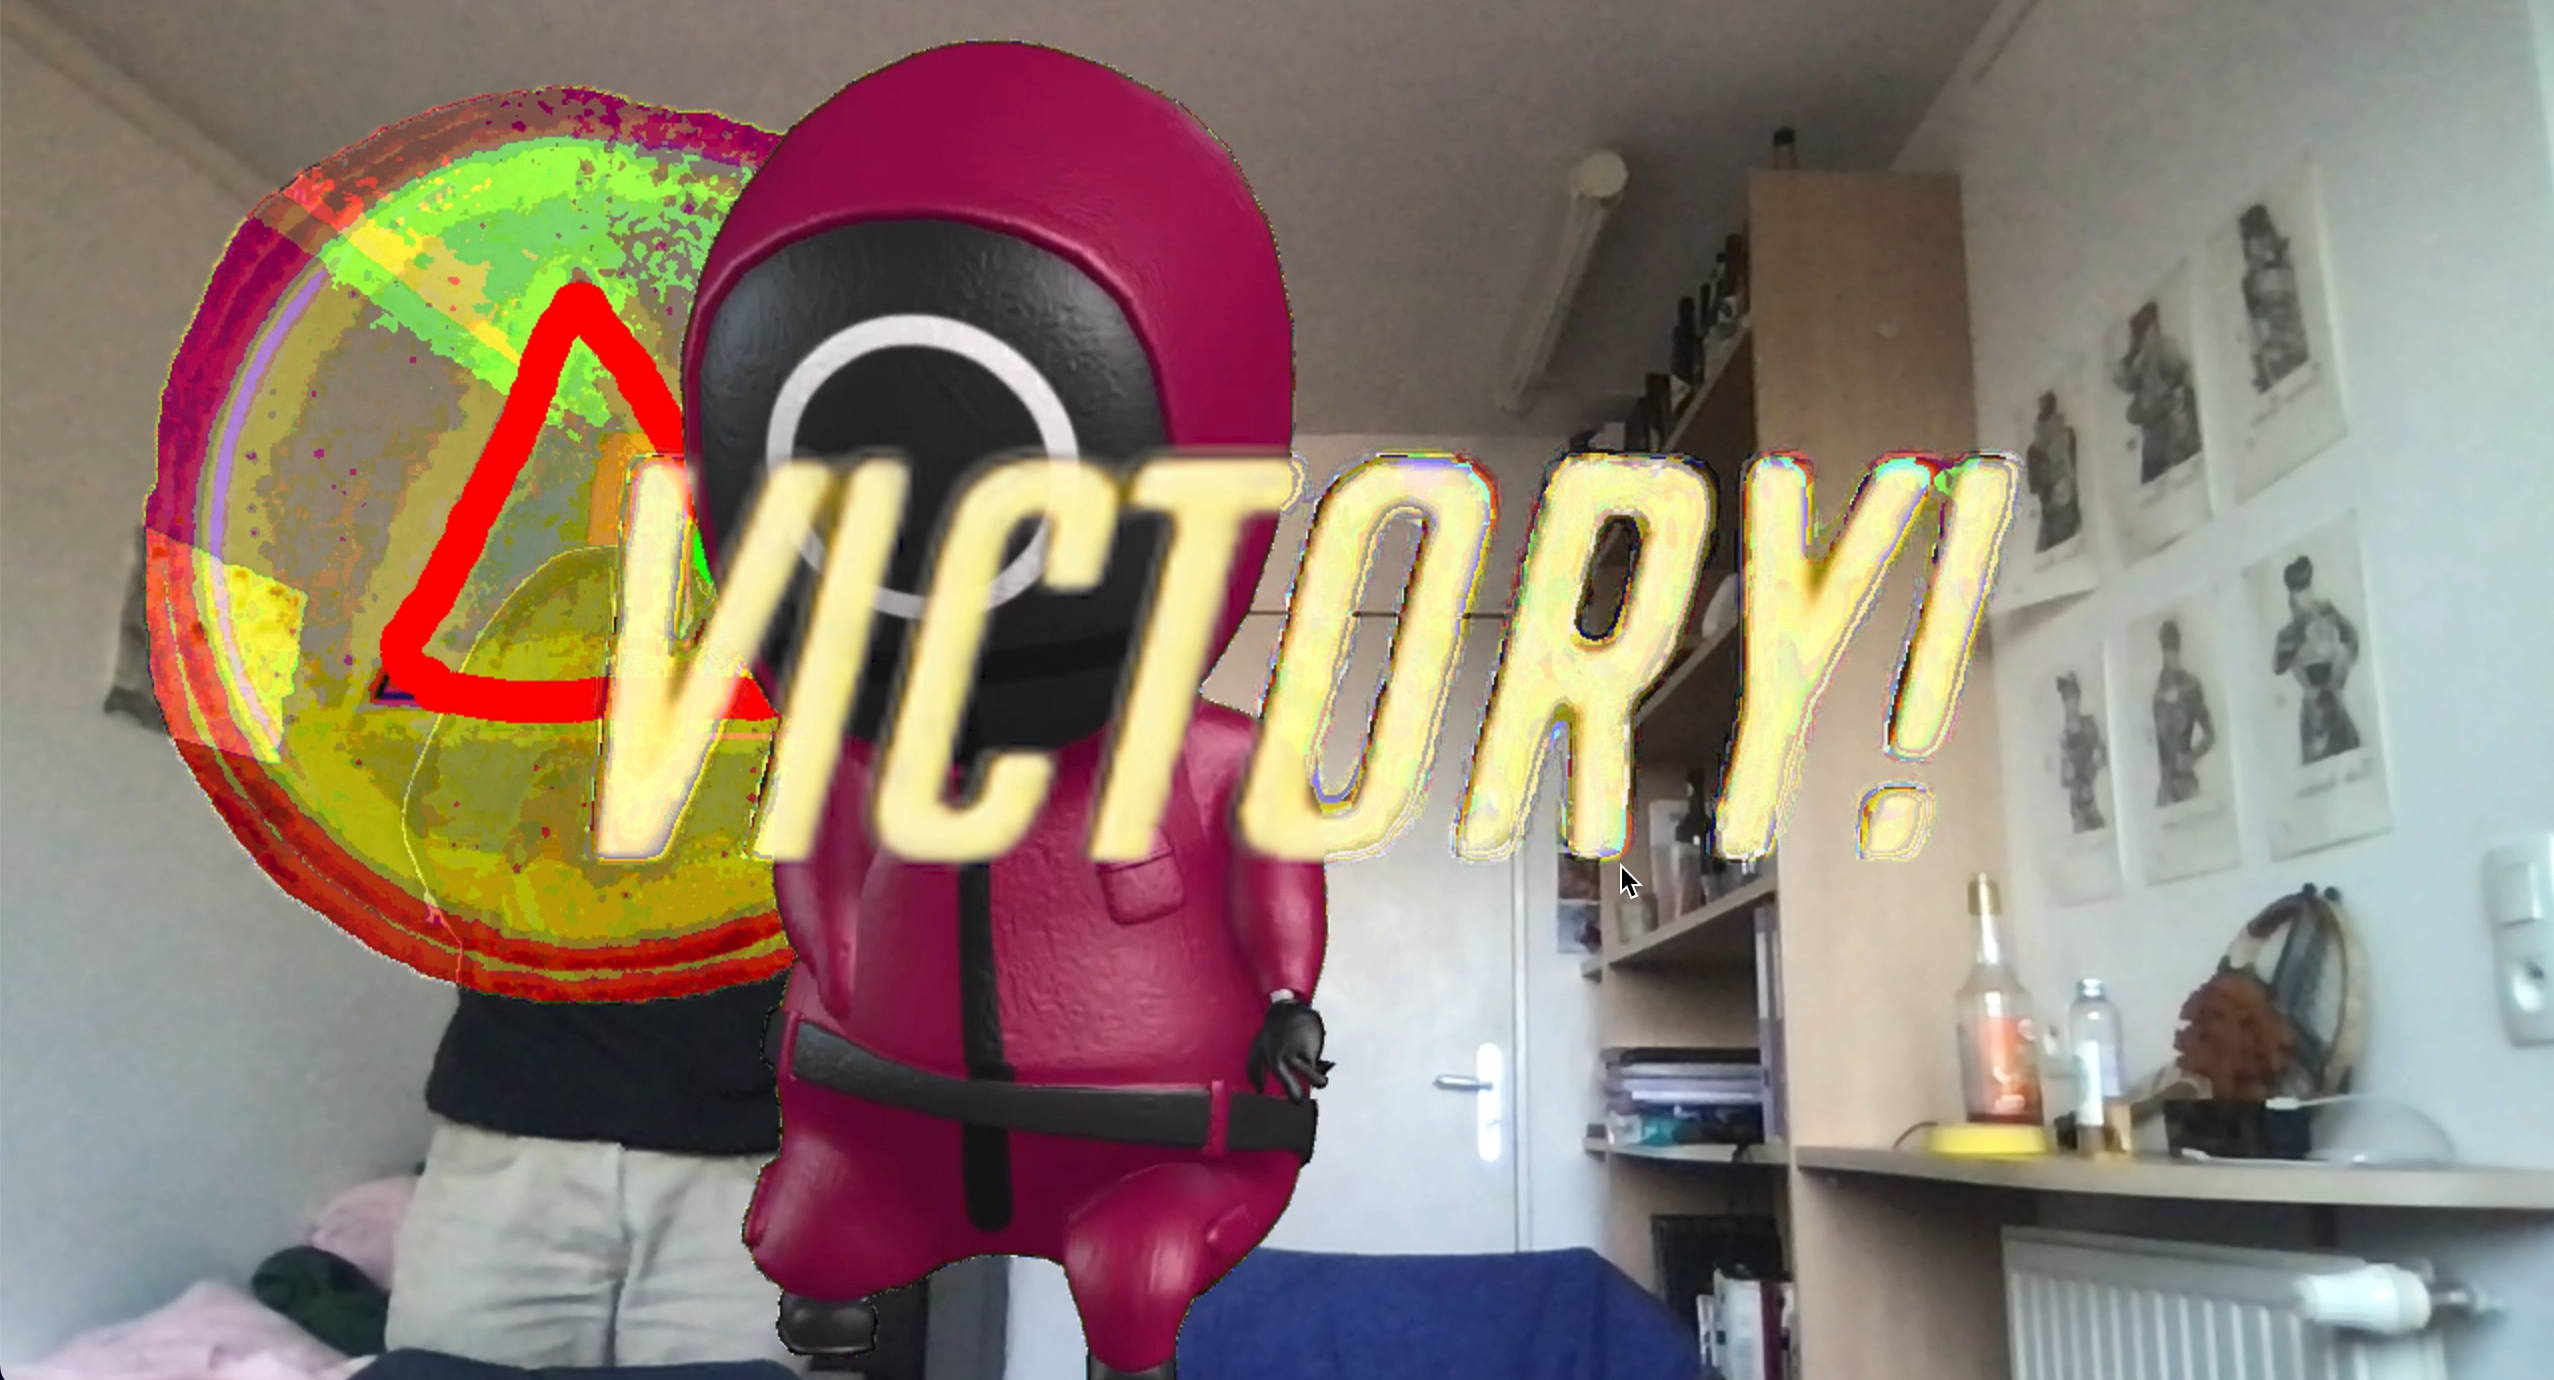
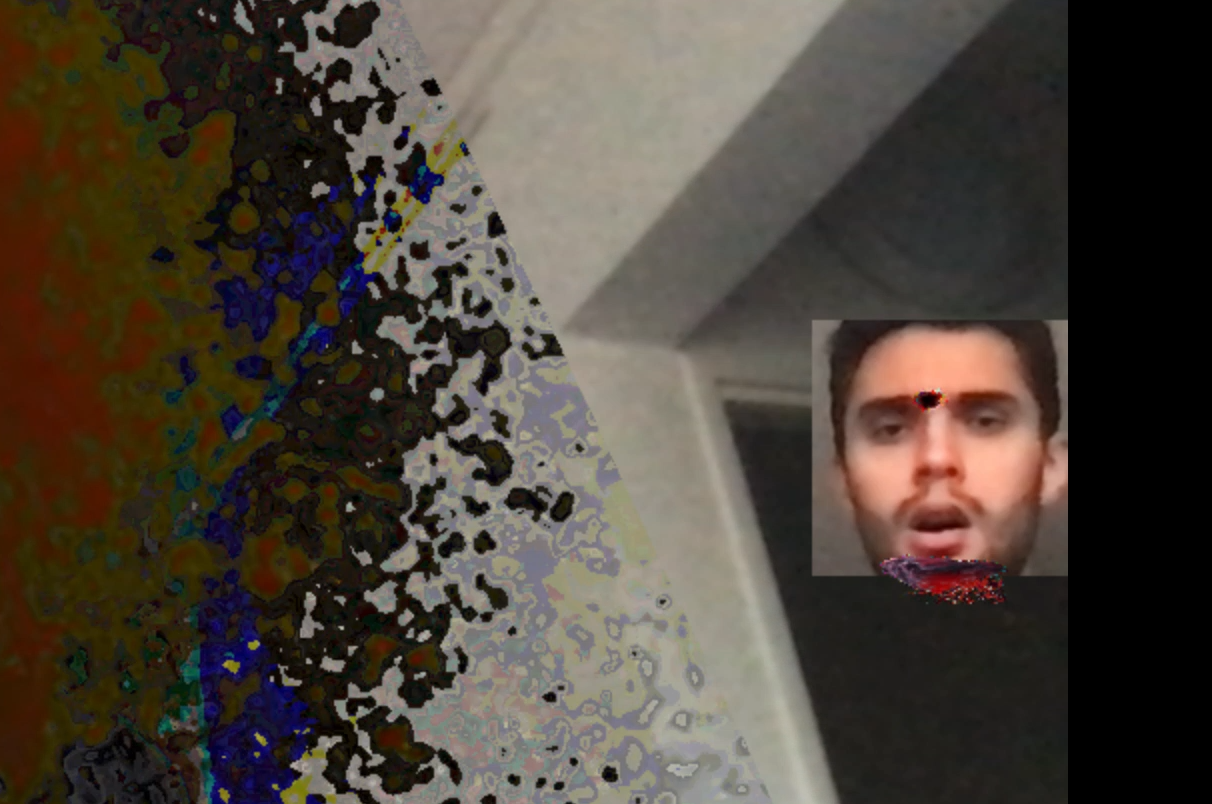
During the game, we added some stylistic elements to add an eerie atmosphere to the game. First of all, we added sound noises when you lose your way. Secondly, the image can make “flash” effects at random times. These effects are coded by changing the background image using a threshold to turn it black and white. During these flash moments, bloodstains would randomly appear on the screen. Finally, we made a video in case of victory, and a video in case of gameOver (when the player didn’t manage to go around the biscuit in the given time). This video is then broadcasted by PNG image to be added to the game window. For the video in case of a gameOver, we also used a neural network (available in the opencv library), which allows to detect a face. In addition, we display an animation of a gunshot to the player’s head. The head is also cut out and projected on an edge of the image. Two PNG images are then superimposed on the exploded head: one to show the impact of the shot between the two eyes, and the other to give the effect of a cut-out neck. Then comes the classic game over credits with the blood flowing and the possibility to replay, return to the menu, or quit.
Game 3 : Memory
The principle of the memory game is as follows: you have to memorise a series of actions [left, right, right, right, left] for example, then you have to move an object in front of the webcam in these positions and in this order. At each stage, a random action is added. The game is over when the player makes a mistake.
Detecting an object
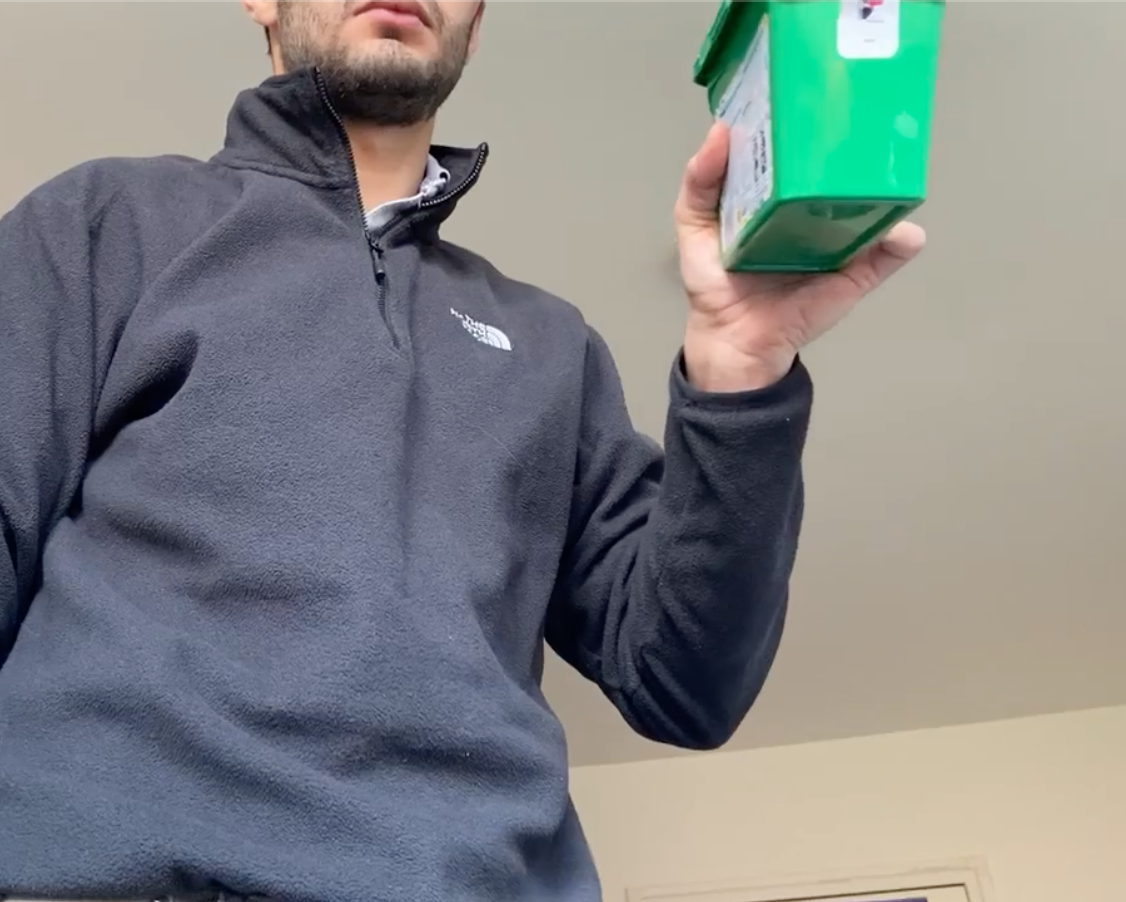
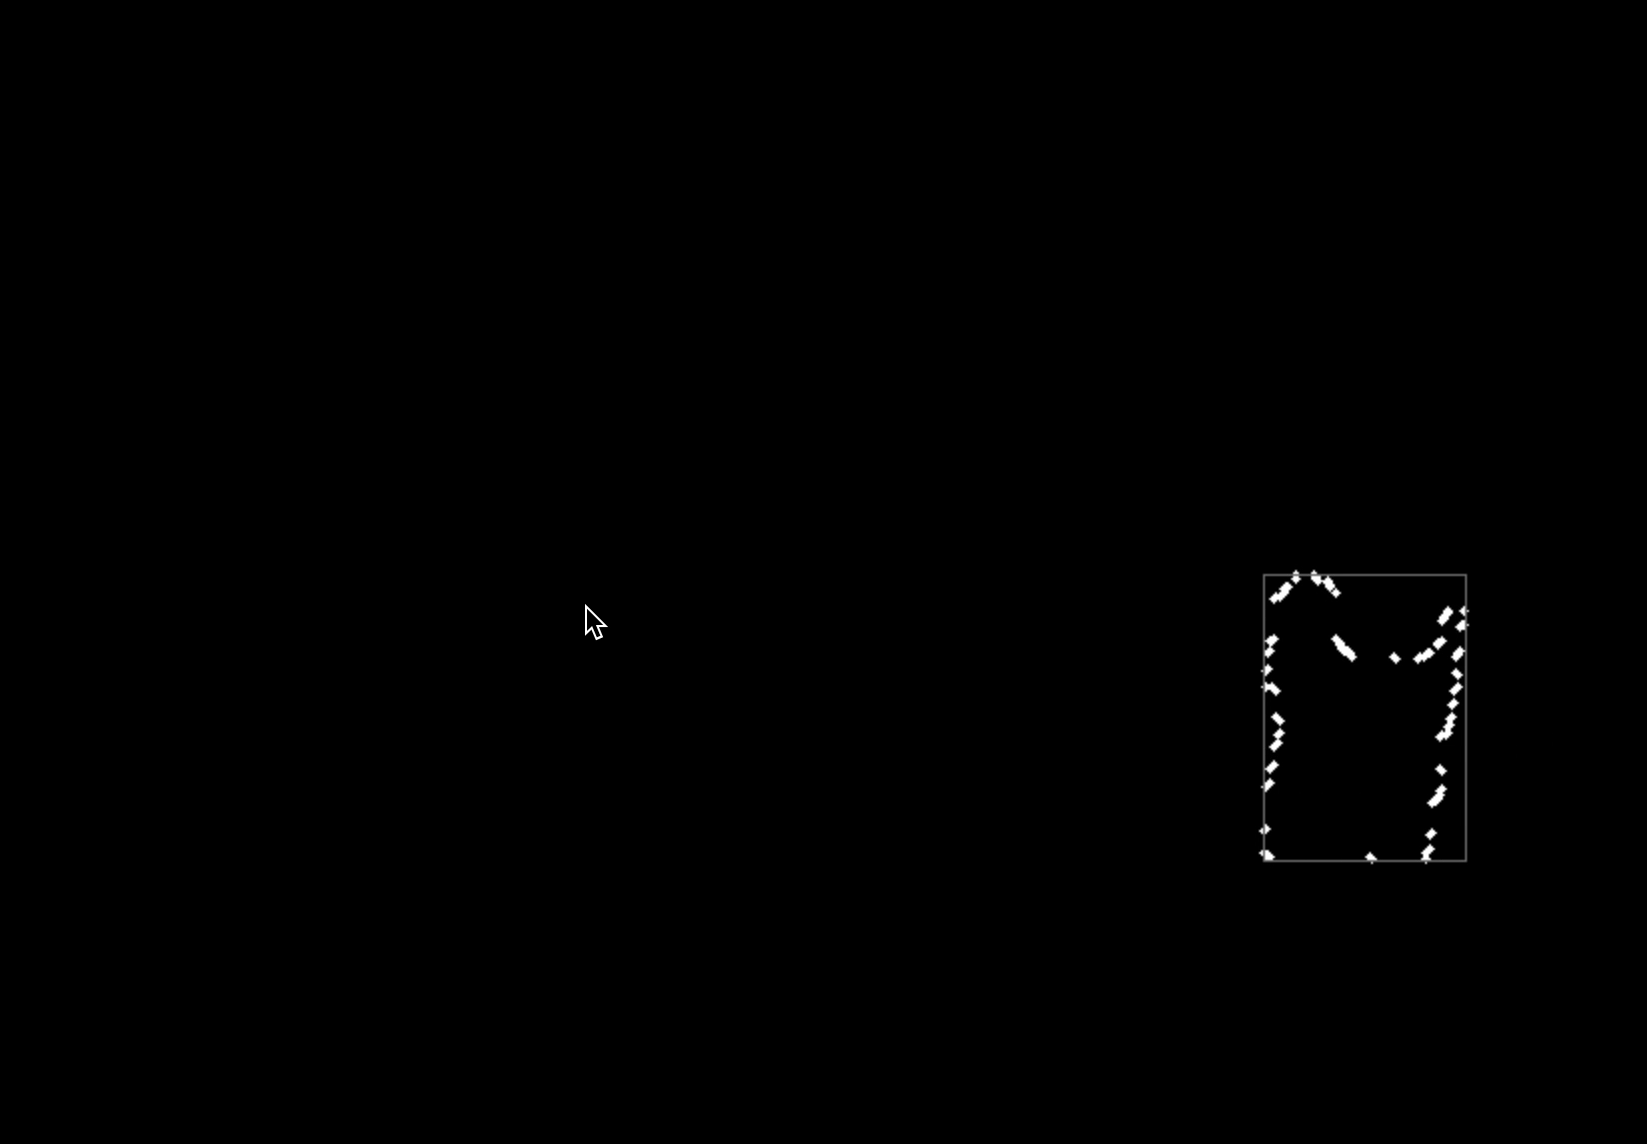
To play this game, you have to tell the computer a reference object, which will be the object studied for the rest of the game. We have recoded everything to isolate this object and to be able to follow it in the plan. First of all, a window opens and displays what the webcam sees. Then, the player must click on the object he wants to isolate. In the program, the BGR webcam image is transformed into HSV, and the HSV values of the pixel on which the player has clicked are retrieved. This step makes it easier to isolate a colour, as the HSV coordinates are better adapted to the colour shade. We therefore start by isolating the colours of the image which are similar to that of the selected pixel, with the function \textit{cv2.inRange}. We then apply a rectangular kernel of size 7x7 composed only of 1’s, with the function \textit{cv2.morphologyEx(maskb, cv2.MORPH_OPEN, kernel)} where \textit{cv2.MORPH_OPEN} allows the input image to be eroded followed by a dilation. This is useful for removing small isolated noise pixels from the image. We double these transformations with a \textit{cv2.dilate} followed by a \textit{cv2.erode}. From here we have a black and white mask image with all parts of the image that are similar to the colour of the selected pixel being white. We still need to detect the part that corresponds to the user’s click. For this, we chose to use a contour technique: we detect all the contours of the image with the function \textit{cv2.findContours}. Once the contours are detected, we retrieve the contour that maximises the area of its interior with the function \textit{max(contours, key = lambda x: cv2.contourArea(x))}. This assumes that the colour of the object is relatively “unique” in the image. For example, it will not be possible to play with a white object in front of a white wall. On the other hand, this technique works perfectly with rare colours, such as green. At each stage the same process is performed, with the same pixel initially selected. We thought of using a kind of random walk on the image (a bit like in our game 4) in order to keep in memory the initial position of the click and to segment only the pixels that are in the selected object. This method had the disadvantage of not being robust to object movement. However, it is precisely this point that we use in the rest of the game.
Detecting player actions
To detect the player’s actions, we used the line \textit{x,y,w,h = cv2.boundingRect(contour)} which surrounds our segmentation with a rectangle. This rectangle has the upper left coordinate $(x,y)$. We keep in memory the $x_{ini}$ coordinate of the object at the time of the click. Then, at each image step we calculate the difference between $x_{actual}-x_{ini}$. This difference allows us to describe the variation of the object’s position in space. We have segmented these possibilities into 3: to be on the left if the difference is strong enough, to be in the middle if this difference is weak in absolute value, or to be on the right. Thus, we could return “left”, “right” or “front” depending on the player’s movements.
Playing the game
However, detecting the player’s position is not enough to play the game: if the player has to do “left, right” for example, that he will position himself at the left point, once the algorithm has detected the player’s left position, unless the player teleports to the right position, the algorithm will detect “left, left”. To overcome this problem, the player must return to the centre between each action. As long as the player has not returned to the centre, no other action will be detected. In addition, to overcome the problem of detection bugs related to noise, with the image “jumping” from one state to another if the algorithm detects another shape of similar colour, we used a vector that keeps track of the last three positions of the player. For a move to be validated in the game, the last three actions must be equal and detect the same move. Finally, in case of defeat, the game displays the classic “gameOver” animation. It is not possible to win this game, only to achieve the best possible score.
Game 4 : Segmentation
This game is a bit different from the others in that there is no possibility of winning or losing. The objective of this game was mainly to recode an image segmentation algorithm from openCV. The idea of the game is simply to use the algorithm to colour in an image.
Presentation of the algorithm
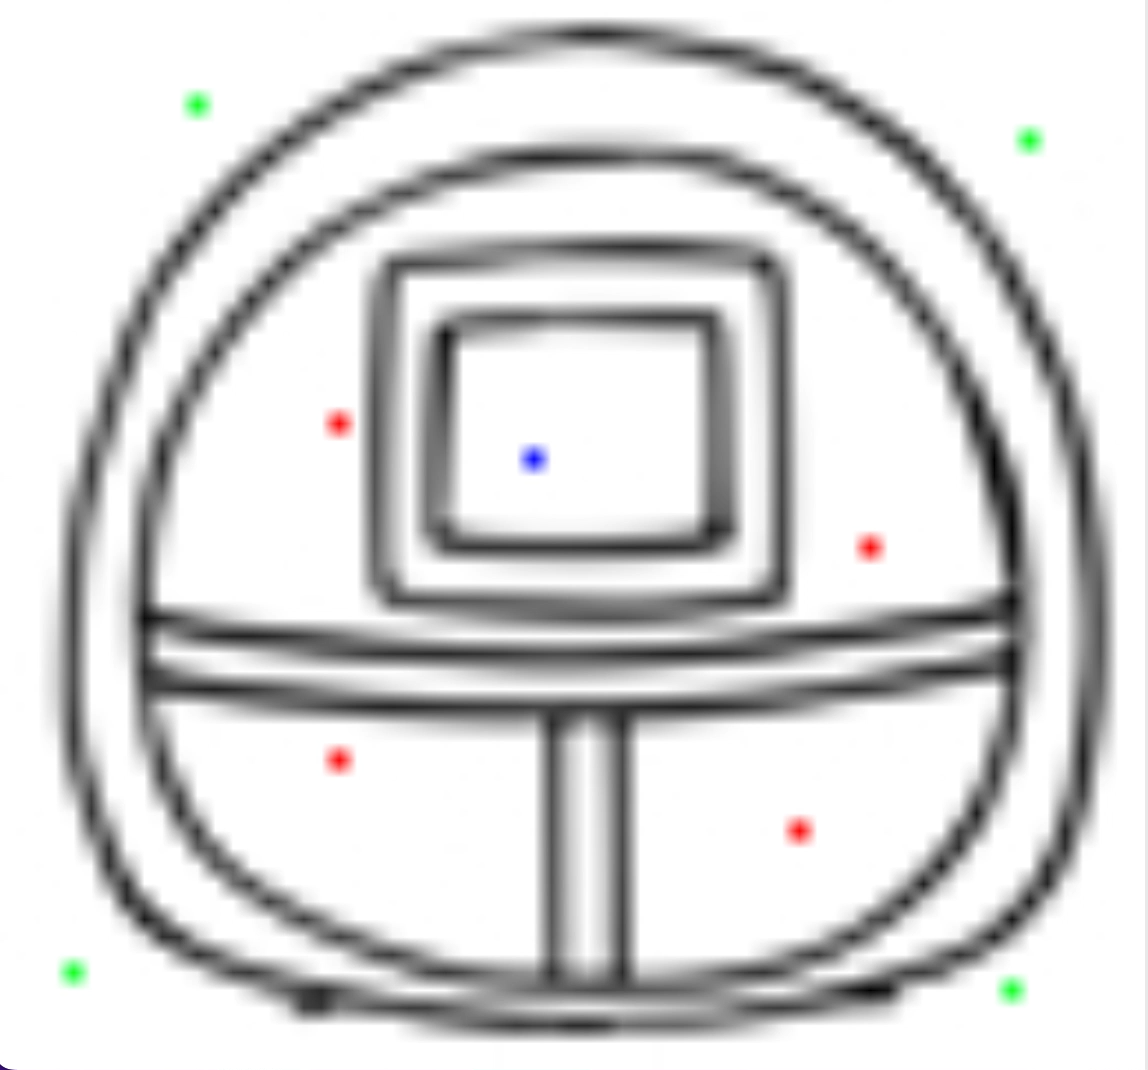
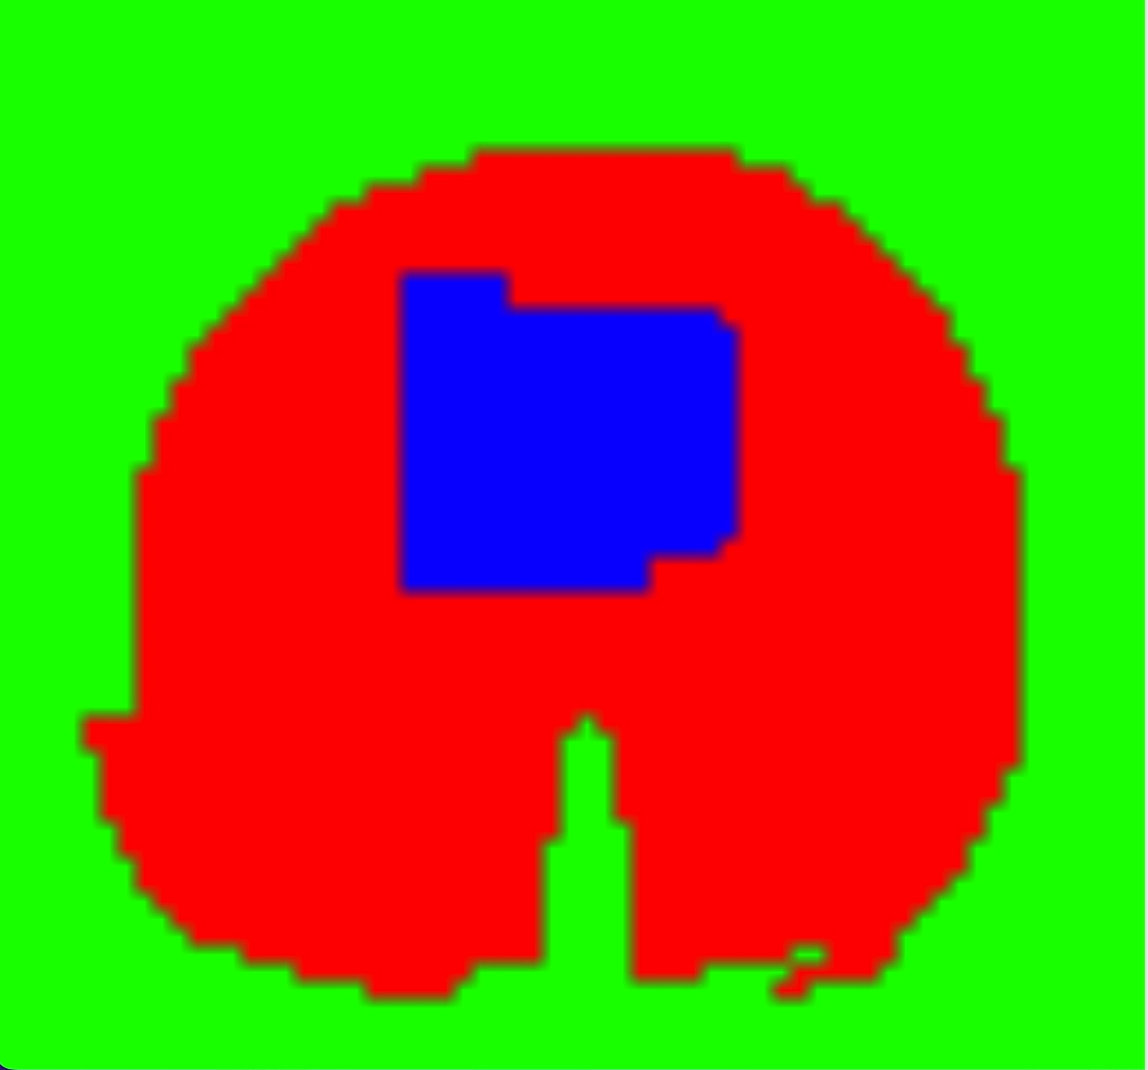
The whole algorithm is very clearly explained in the paper [1]. While we have not gone too far into the mathematical understanding of the problem, we have tried to recode the algorithm as it was presented in the paper. We give here the main idea of the algorithm: we give as input an image to the user, who will mark some pixels of this image as belonging to some labels. Then, for each unmarked pixel, we define a random walk starting at this pixel that moves from neighbour to neighbour. The probability of reaching a neighbour depends on the intensity difference between the two pixels, which is represented by a cost function. For each unlabelled pixel, we look at the probabilities for this random walk to reach a labelled pixel, which gives us for each pixel a probability to belong to each label. We then conclude that this pixel is of the label for which it has the highest probability of belonging. This process is however very time consuming to perform as presented here, but in the author’s paper [1], he shows that the problem is actually equivalent to solving a certain linear system obtained after some operations on the matrices representing the images.
Mathematical formulation of the algorithm
In this section, W will represent a random walk between $n$ states, with $k$ absorbing elements $(a_j)_{1\leq j \leq k}:=A$ corresponding to the pixels labelled by the user.
We use the following stochastic matrix to describe the movement between two states of this random walk:
\[\forall j \in [1, n], \forall i \in [1, n], (Q)_{ij}=P(W_1 = j | W_0 = i) = \frac{w_{ij}}{\sum_{k \in V_i}w_{ik}}\]| with $w_{ij}(\beta)=\text{exp}(- \beta | i-j | ^2)$ if i and j are neighbours, and $w_{ij}(\beta)=0$ otherwise. |
At the cost of a permutation, we can write $Q$ in this way:
\[Q=\left ( \begin{array}{c|c} I_k & 0 \\ \hline M & \tilde{Q}\\ \end{array} \right)\]So the matrix we are interested in is
\[{(R)_{ij}=P(W_{T_A^i} = j|W_0=i )}\]| where $T_A^x = \text{inf } {i \geq 0, W_i \in A | W_0=x}$ represents the stopping time of the first abortive state reached. |
Then the author of the algorithm states that this problem is equivalent to the problem below:
\[R = (I_{n-k}-\tilde{Q})^{-1}M\]It is this calculation that we perform in our algorithm, with slightly different notations but described in the paper [1].
Description of the code
We propose here the main function of our algorithm. This function takes as input an image, the matrix of points labelled by the user, the number of labelled points, the number of labels and the beta parameter. We have modified this version of the code to be consistent with the probability matrices presented above, but in the real code we use the Laplace matrix associated with the Q matrix.
```python def random_walk(img, matrice_label, nbr_points_labelises ,nbrLabels ,beta=10):
# Build the Q matrix
Q = get_matrice_Q(img/255,beta)

# Permute this matrix to place the labeled vectors at the front
vector_labelise = matrix_to_vector(matrice_label)
perm, vectorLabelise_ordonne = get_permutation(vector_labelise, nbr_points_labelises)
Q = permuteL(Q,perm)

# Extract the matrices needed to solve the equation
M, Q_tilde = getMatricesToSolve(Q,vectorLabelise_ordonne,nbr_points_labelises, nbrLabels)

# Solve the system to obtain the matrix of probabilities of belonging to each label
xu = solve(M, Q_tilde)

# Organize the results by transforming the probabilities into labeling
# and reorganizing the results in order
x = transformEnLabel(M,xu)
x = permutationVecteur(x, perm[::-1])
imgLabel = resize_vector_to_matrix(x, img)

# Return an array the size of the image to label where all the values are the label
# to which the points probably belong
return imgLabel
Optimisations and limitations of our algorithm
The good news is that our algorithm works. However, the computation time is considerably lower for small images. Indeed, for images that are too large, our computer was not able to perform the segmentation in a satisfactory time. We identified the problem, which was the permutation of the $Q$ matrix. Indeed, if we segment an image with $n=w \times h$ pixels, this matrix is a matrix of size $n \times n$. Our function \textit{permuteQ(Q,perm)} generates the permutation matrices necessary for the permutation of $Q$, then performs the permutation $Q’=PQP^{-1}$. This calculation thus consists of two multiplications of matrices of size $n \times n$. To give an idea, for an image of size $720 \times 480$, we multiply two matrices of size $345,600 \times 345,600$, i.e. $4 \times 345600^3$ operations. After some thought, we rethought our algorithm, and one solution to avoid this inversion would have been to work with graphs and not matrices. Indeed, as most of the coefficients of our $Q$ matrix are zero, the permutation would be performed in a considerably shorter time.
Back to the game
The game coded from this algorithm is a colouring game: the user has 3 colours, and 10 dots to place on a picture, with at least one dot per colour. The user has to place these dots in the best possible way so that the segmentation colours his drawing nicely.
Game 5 : Piano
The principle of the game
It is a quiz game in which the user will have to choose between several answers, each associated with a glass case. Only one case is solid and corresponds to the right answer, the others are fragile and will break if selected because they correspond to the wrong answer. The breaking of a glass case results in the death of the user. If the user answers correctly, new panes of glass appear and the user must answer a question again. Halfway through the game, the number of possible answers increases from 2 to 3 to make the game more difficult. If the user answers 12 questions in a row correctly, he wins the game.
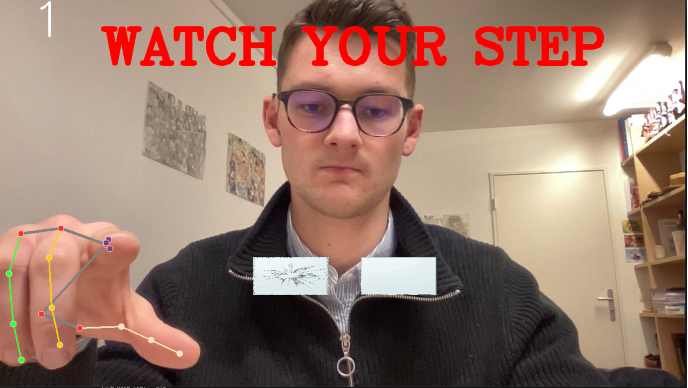
For the last game, we wanted to use the skeleton detection proposed by mediapipe which detects very precisely the position of 32 key positions of the human body. We focused on the detection of the hand.
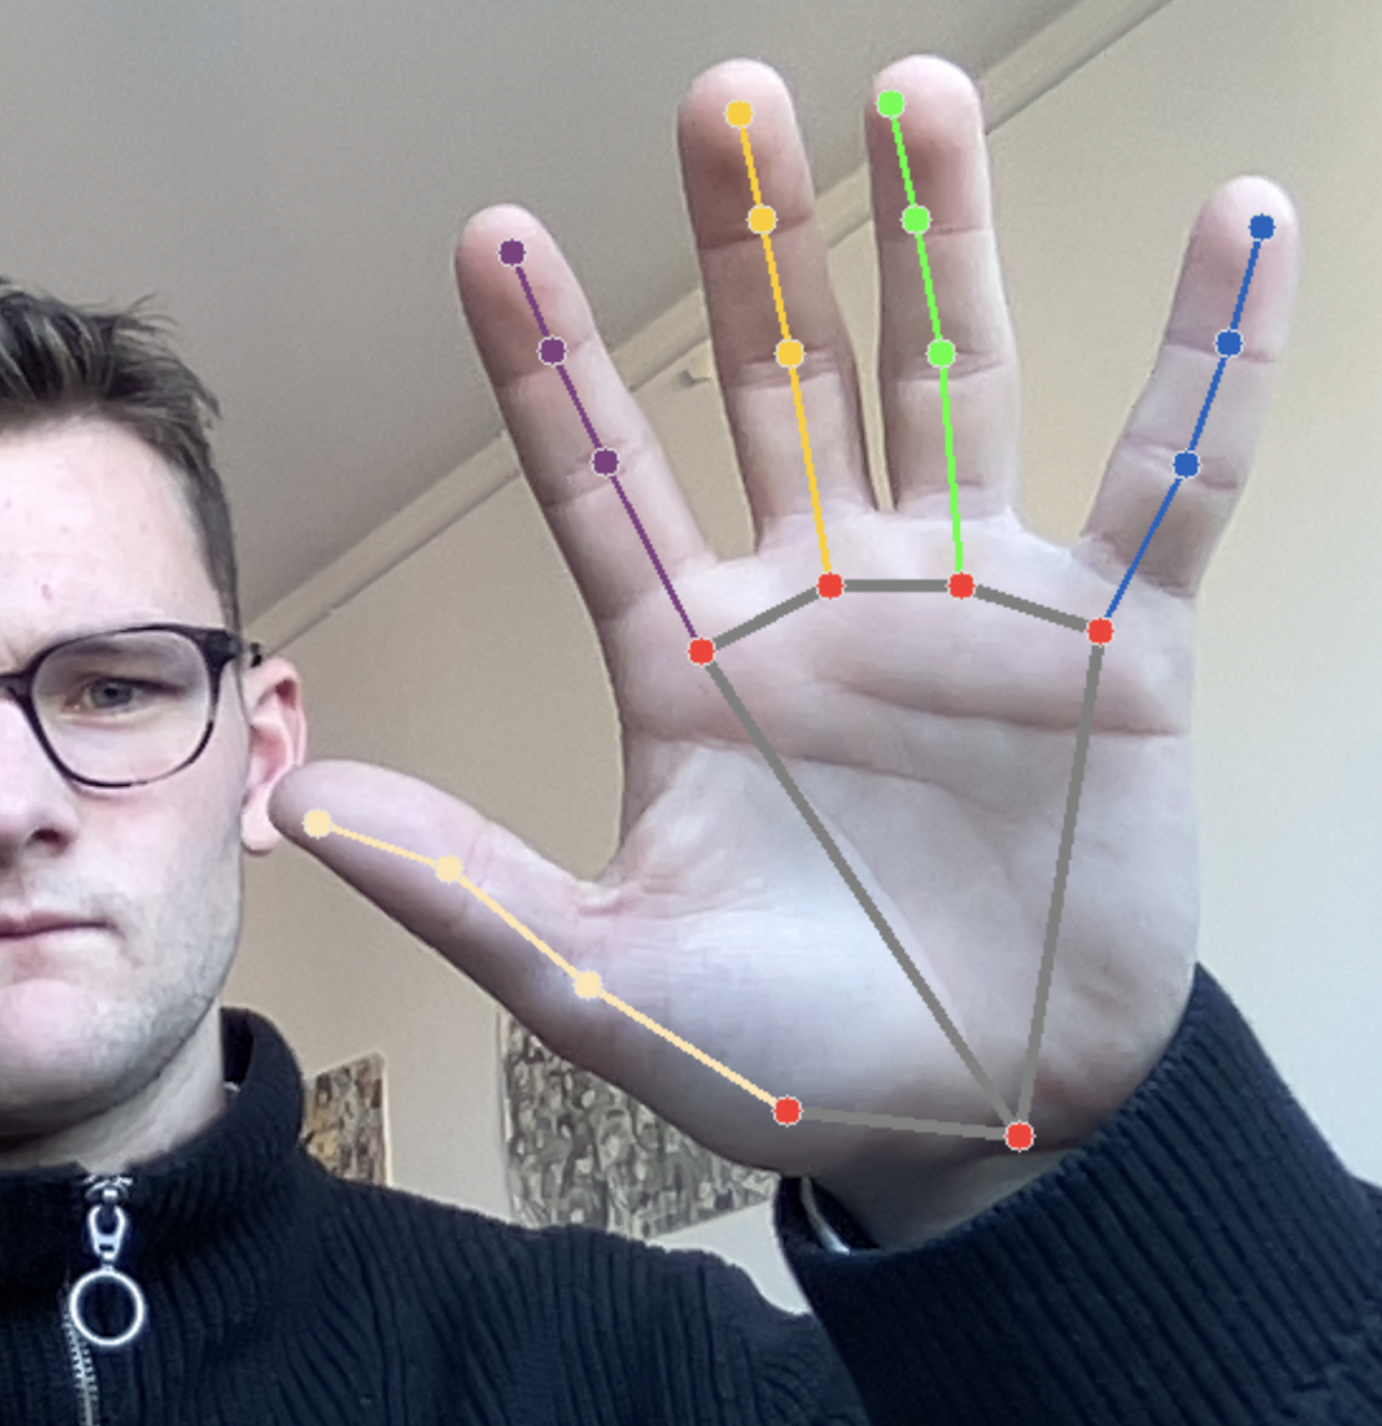
The mediapipe algorithm has a model ‘mp\textunderscore{}hands.Hands’ that returns a list of 20 key points per hand. We extracted the point corresponding to the end of the index as a reference point to select the answers to the questions. Indeed, we had initially considered several points of the hand for more possibilities of movement but this led to too many unintentional errors in the selection of the answers by clicking on a glass without intention. We also fixed the number of detectable hands simultaneously to 2 (‘textit{max\textunderscore{}num\textunderscore{}hands = 2’ to allow the use of two fingers, one for each key. At the beginning, we had not fixed any other parameter for the model but this one being not infallible, it regularly made mistakes in the detection of the fingers which led to involuntary answers to the quiz. To compensate this error, we set a tracking score and a detection score to 0.5. By doing this, the detections that are not considered certain by the algorithm will not be displayed and will not lead to a bad manipulation. The tracking will make sure that between two frames, the position of a keypoint need to be relevant and not too high.
Game atmosphere
To make the game more stressful, it allows no mistakes. The slightest mistake will break the walk on the spot alerting the referee who will kill you immediately. Scary music plays in the background and a sound of breaking glass is triggered if the window breaks. To allow us to easily reach the end of the game and to leave a possibility to the hardened users to finish the game easily, the two windows are not really identical. One of them is already damaged on the side and corresponds to the fragile one. In order to position the right step in the right place, each question (string) contains a number indicating the number of the right answer and allows an automatic positioning of the steps.
References
[1] L. Grady. Random walk for image segmentation. “Conception et évaluation d’un processus de personnalisation fondé sur des référentiels de compétences”, 2006.
[2] Google, Mediapipe tracking for skeleton detection and segmentation mask https://google.github.io/mediapipe/solutions/hands.html